
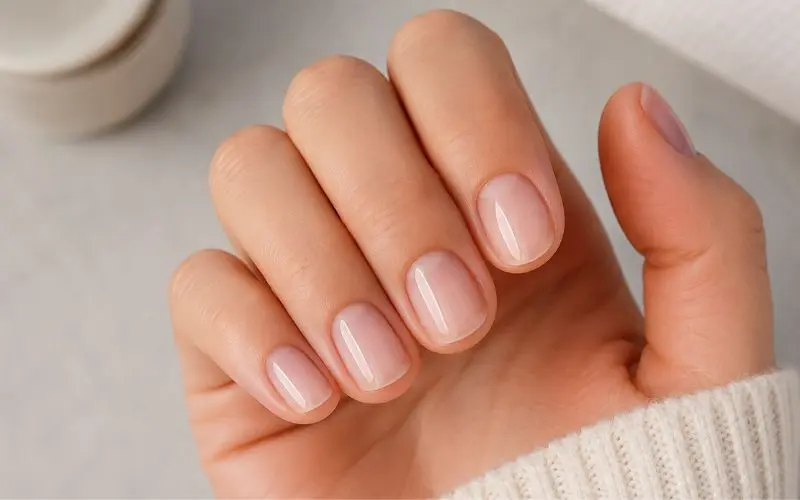
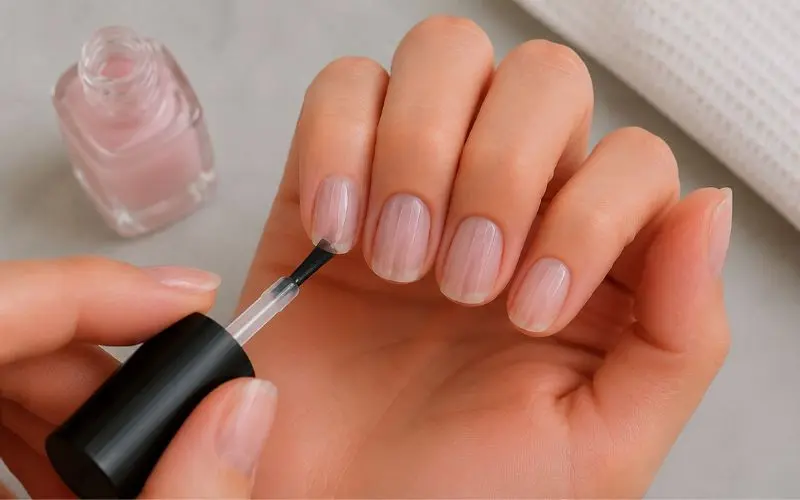
Soap nails are a sheer, glassy manicure that makes your nails look freshly washed and naturally healthy rather than polished. The effect comes from one or two thin coats of a translucent, blush-toned or soft-pink polish applied over a buffed, well-shaped nail, then sealed with a high-gloss top coat. There’s no elaborate technique involved — the entire look depends on thin layers and a smooth base, which is exactly why it’s become the manicure people reach for when they want something elevated without looking “done.”
If you’re trying to recreate soap nails at home, the short version is this: buff your nails lightly, apply a structured base coat, add one to two thin coats of sheer polish in a milky pink or nude shade, then finish with a glossy (not matte) top coat. The whole process takes under 20 minutes and uses tools most people already have in a basic manicure kit. The sections below cover why this particular look is having a moment, the full step-by-step process, and how to adapt it if your nails are damaged, ridged, or prone to chipping.
Why Soap Nails Are Everywhere Right Now
Soap nails sit at the intersection of two beauty shifts happening at once. The first is a pullback from maximalist nail art — chrome finishes, 3D charms, and bold patterns have dominated for a couple of years, and a portion of that audience is now swinging toward something quieter. The second is the broader “clean girl” aesthetic moving into 2026 with a slight update: instead of bare, polish-free nails, people want the appearance of bare nails with the shine and longevity of an actual manicure.
There’s also a practical reason this trend spreads so fast: it’s genuinely easy to do yourself. Unlike chrome powder or gel-X extensions, soap nails don’t require UV lamps, specialty tools, or salon-level skill. The entire effect comes down to two things — how sheer the polish is, and how glossy the top coat is — which makes it one of the most beginner-friendly trends to come out of the nail industry in years.
It helps that the shade family is forgiving. Sheer pinks and nudes work across a wide range of skin tones because the polish is translucent rather than fully opaque, so it takes on a slightly different cast depending on your natural undertone instead of sitting flat on top of it.
Soap Nails vs. Milky Nails: What’s the Real Difference

These two trends get confused constantly because both use pale, low-contrast colors. The real difference is opacity. Soap nails use an ultrasheer polish that lets the natural nail show through — the goal is a barely-there wash of color, almost like your nail just got a sheen of soap and water on it. Milky nails use a more opaque pastel polish, closer to a true pale white or soft lilac, that fully covers the nail bed rather than letting it show through.
A simple way to test which one you’re looking at in a photo: if you can still faintly see the natural pink or ridges of the nail bed underneath the polish, that’s a soap nail finish. If the nail looks uniformly painted in a flat pale shade with no see-through quality, that’s milky nails. Both fall under the same “quiet manicure” umbrella, but they photograph and wear differently — milky nails show chips more obviously, while soap nails tend to grow out more gracefully since the sheer color blends with new growth instead of creating a hard line.
Step-by-Step: How to Do Soap Nails at Home
What You’ll Need
- Nail file and buffer
- Cuticle pusher and cuticle oil
- A structured ridge-filling base coat
- A sheer, blush-toned or nude polish
- A high-gloss top coat (avoid matte finishes, which kill the glassy effect)
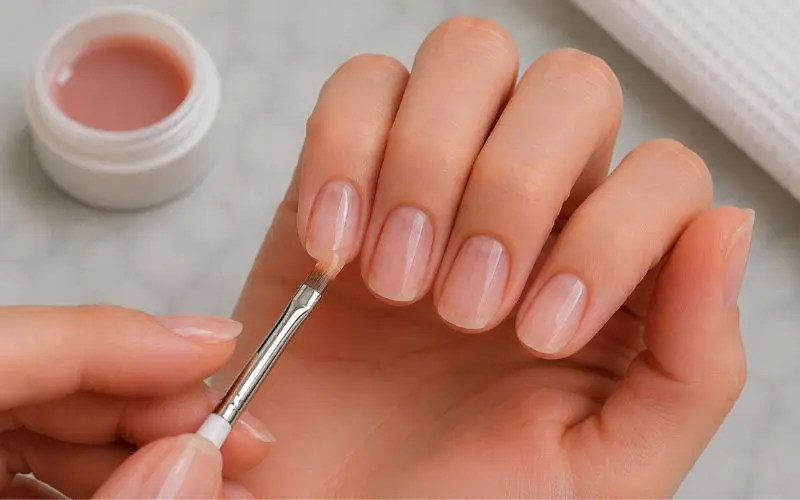
Step 1: Shape and Prep
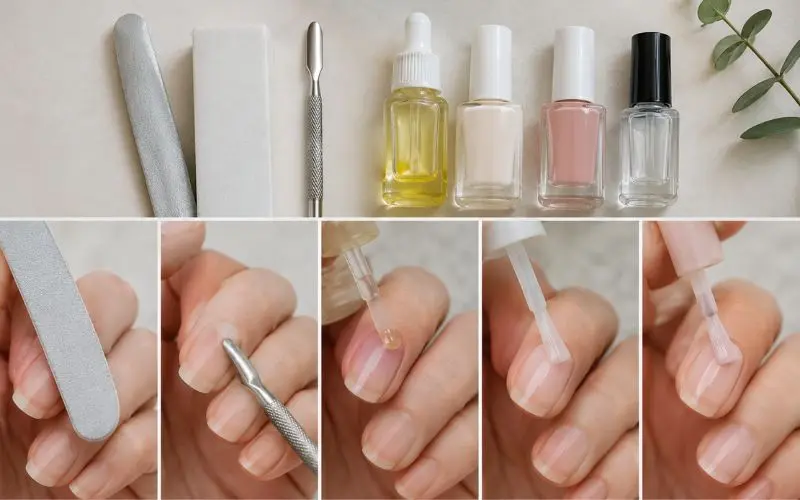
Shape nails into a soft square or rounded oval — sharp edges work against the soft, rounded look soap nails are going for. Push back cuticles gently, then lightly buff the surface of each nail. This step matters more than it seems: any ridges or texture will show through sheer polish far more than they would under an opaque color.
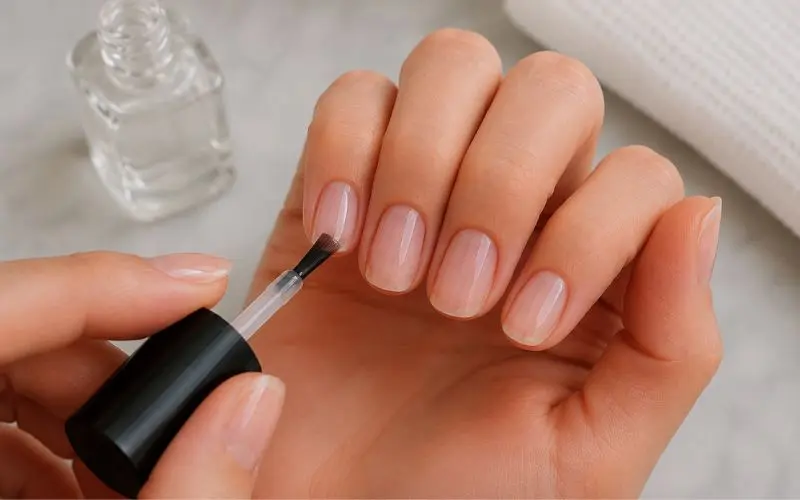
Step 2: Apply a Structured Base Coat
Use a ridge-filling or “structured” base coat rather than a basic clear one. This evens out the nail surface and gives the sheer polish something uniform to sit on, which is what creates that seamless, glass-like illusion rather than a streaky, uneven finish.
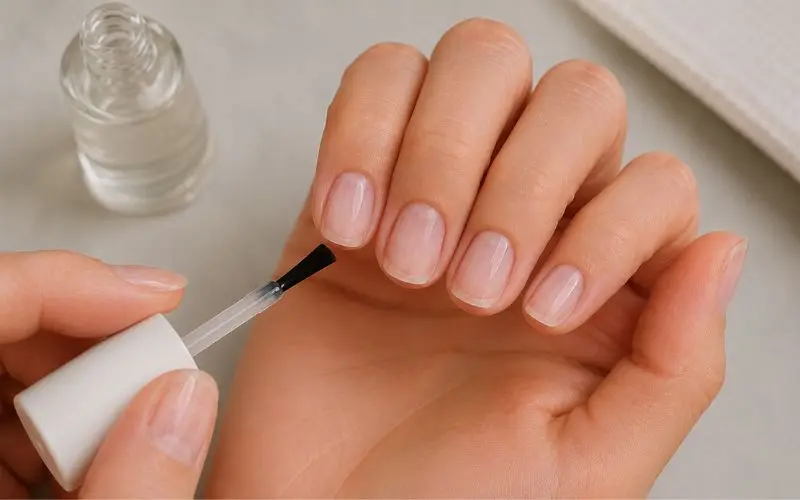
Step 3: Apply Thin Coats of Sheer Polish
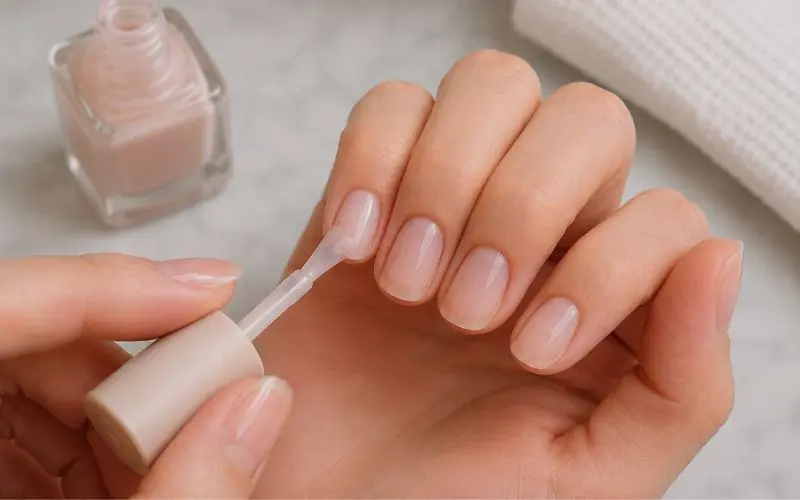
This is the step people get wrong most often. Apply one to two coats maximum, and keep each layer thin — a thick coat of sheer polish pools at the cuticle line and tip, creating visible lines instead of an even wash of color. Let each coat dry fully (5–10 minutes) before adding the next.
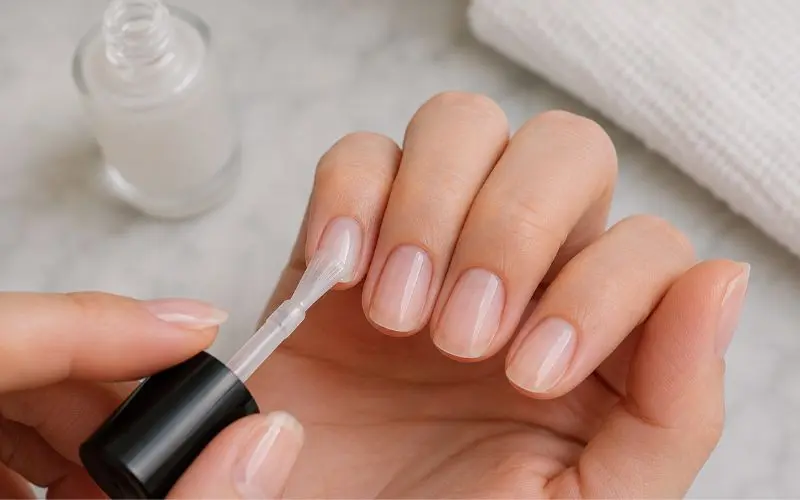
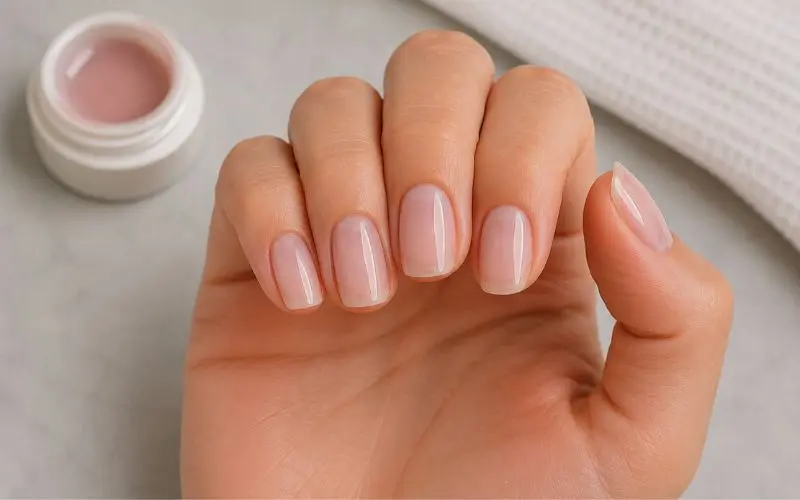
Step 4: Seal With a Glossy Top Coat
Finish with a high-shine top coat. This is non-negotiable for the soap-nail effect — a matte or satin top coat will make the manicure look chalky rather than glassy and “freshly washed.”
Step 5: Finishing Touches for Damaged or Ridged Nails
If your natural nails are thin, peeling, or heavily ridged, a flat sheer polish will show every imperfection. In that case, use a tinted builder gel in a slightly warm or cream tone along the free edge before adding your sheer color — this mimics the look of a healthy natural nail and gives the polish a smoother surface to sit on, without making the overall look any less minimal.
Alternative Solutions & Related Variations
Soap nails for short nails
The look works especially well on short or recently clipped nails since the sheer color reads as natural rather than “done,” which is harder to pull off with longer, more dramatic shapes. Keep the free edge filed into a soft square for the cleanest result.
Soap nails on gel or builder gel
If you want longer wear than regular polish provides, the same sheer shade family works in gel form — apply over a clear or sheer builder gel base and cure as directed. This extends wear time significantly without changing the overall aesthetic.
Soap nails for damaged or weak nails
Beyond the tinted builder gel trick above, a nourishing base coat with strengthening ingredients (keratin or calcium-based formulas) used for one to two weeks before your manicure will give sheer polish a smoother, less ridged surface to sit on.
DIY soap nails that turn out streaky
Streaking almost always comes from applying too much polish per coat or not letting layers dry fully between applications. If you notice streaks while the polish is still wet, resist the urge to “fix” it with another coat — let it dry completely, then lightly buff and reapply one thin corrective layer instead.
How long soap nails actually last

With regular polish, expect 5–7 days before visible wear at the tips. Because the color is sheer, growth lines are far less noticeable than with opaque or dark polish, so many people stretch wear to 10+ days without it looking obviously grown-out. Gel versions can last up to two to three weeks.
Removing soap nails without damage
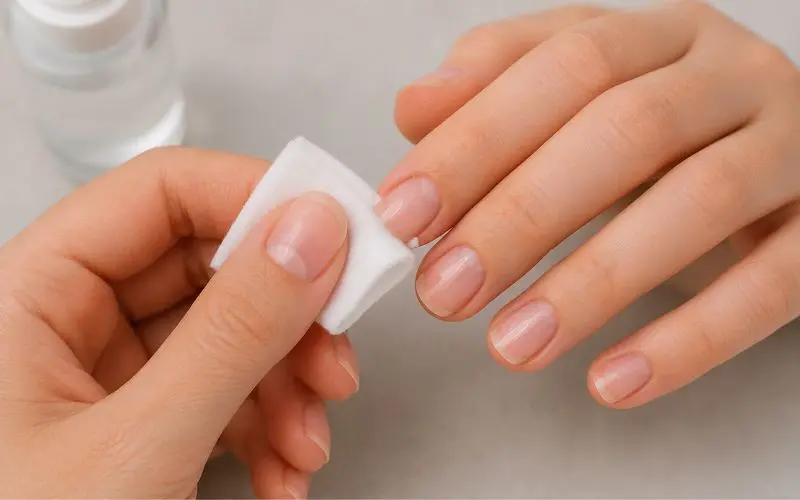
Because the polish layer is thin, soap nails typically remove faster and with less acetone exposure than thicker, opaque manicures. Soak a cotton pad in acetone-based remover, hold against the nail for 10–15 seconds, then wipe in one direction rather than scrubbing, which can dry out the surrounding skin.
FAQs
What are soap nails?
Soap nails are a sheer, glossy manicure using a translucent pink or nude polish that mimics the look of clean, freshly washed hands rather than a fully opaque painted nail.
Are soap nails the same as milky nails?
No. Soap nails are ultrasheer and let the natural nail show through, while milky nails use a more opaque pastel polish that fully covers the nail bed.
Can I do soap nails at home without salon tools?
Yes. The look only requires a basic file, buffer, structured base coat, sheer polish, and a glossy top coat — no UV lamp or specialty equipment is needed for the regular-polish version.
What color polish is used for soap nails?
Sheer pinks, soft nudes, and blush tones work best. The key is translucency, not a specific exact shade, since the polish should let some of the natural nail show through.
Do soap nails work on darker skin tones?
Yes. Because the polish is sheer rather than opaque, it takes on a slightly different tone depending on your natural undertone, which makes the look adaptable across a wide range of skin tones.
How long do soap nails last?
Regular polish versions typically last 5–7 days before visible tip wear, while gel versions can last two to three weeks.
Why do my soap nails look streaky?
Streaking usually comes from applying polish too thickly or adding a second coat before the first has fully dried. Thin, fully-dried layers are essential to the smooth, glassy finish.
Can I do soap nails if my natural nails are damaged or ridged?
Yes, with one adjustment: buff the surface smooth first, and consider a tinted builder gel along the free edge to even out the surface before applying sheer polish.
Is a top coat necessary for soap nails?
Yes — a glossy, high-shine top coat is what creates the “wet, freshly washed” look. Skipping it or using a matte top coat makes the manicure look flat and chalky instead.
What’s the easiest mistake to avoid with soap nails?
Applying too many coats or too much product per coat. The entire effect relies on thin, sheer layers — more polish makes the look opaque and defeats the purpose of the trend.
Final Thoughts
Soap nails work because they take the idea of “low effort” beauty seriously rather than just claiming it — the whole technique is genuinely simple, and the result still looks intentional rather than unfinished. The biggest difference between a soap-nail manicure that looks expensive and one that looks like an afterthought comes down to two small habits: keeping every coat thin, and never skipping the glossy top coat. Once you’ve got those two details down, this is one of the few nail trends that’s just as easy to maintain at home as it is to start, which is probably why it’s stuck around as long as it has.